Create Button Animation
This tutorial demonstrates how to create button animations using TWEEN.

Button animations can be created by adjusting the position of the button.
We will use TWEEN’s .yoyo() function.
Adding Button Body and Button Objects
Add two desired meshes, such as a box or cylinder.
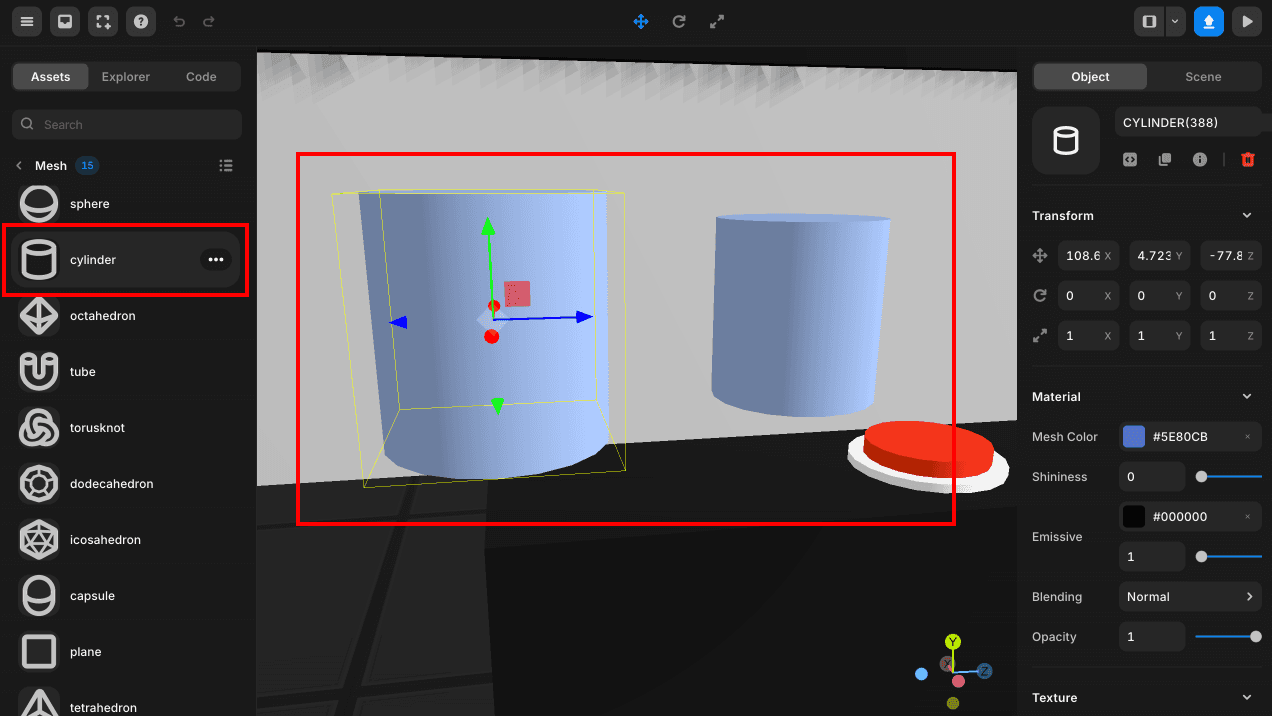 Adding Button Body and Button
Basic Setup for Button Body and Button
a. Set the names of the objects to RedbuttonBody and Redbutton, respectively.
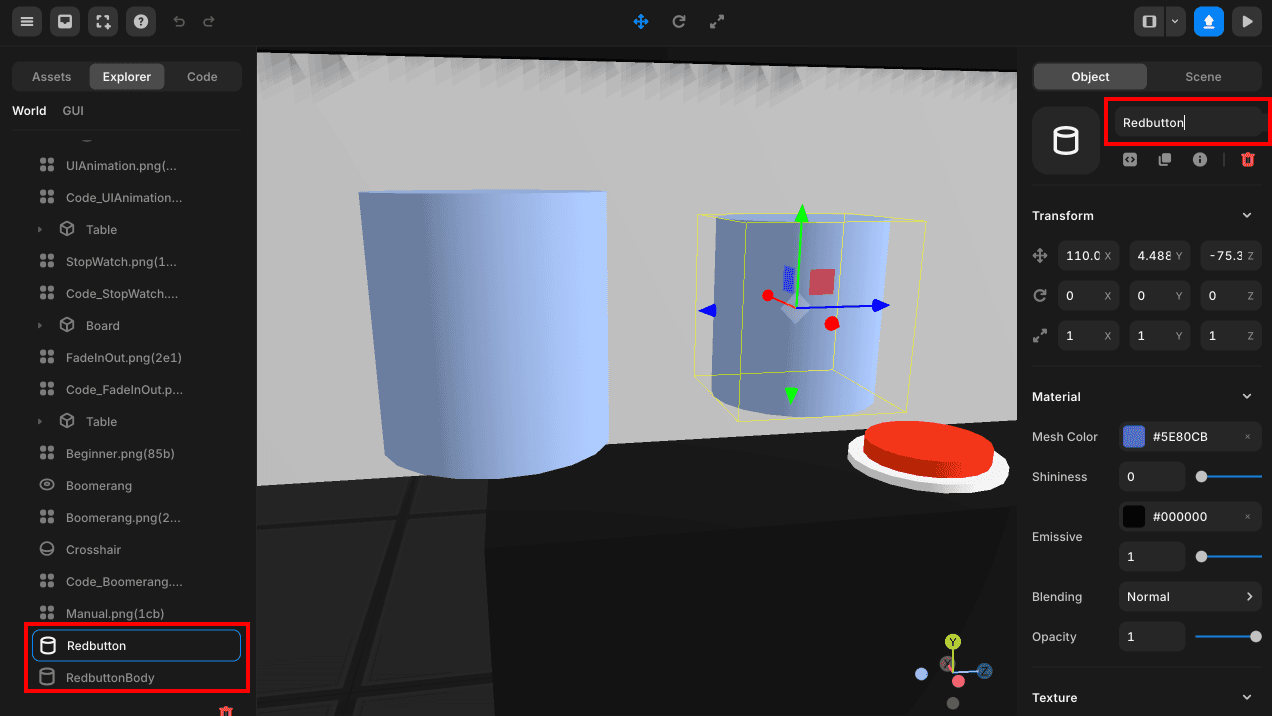 Setting Object Names
b. Change the color of the objects to your desired color.
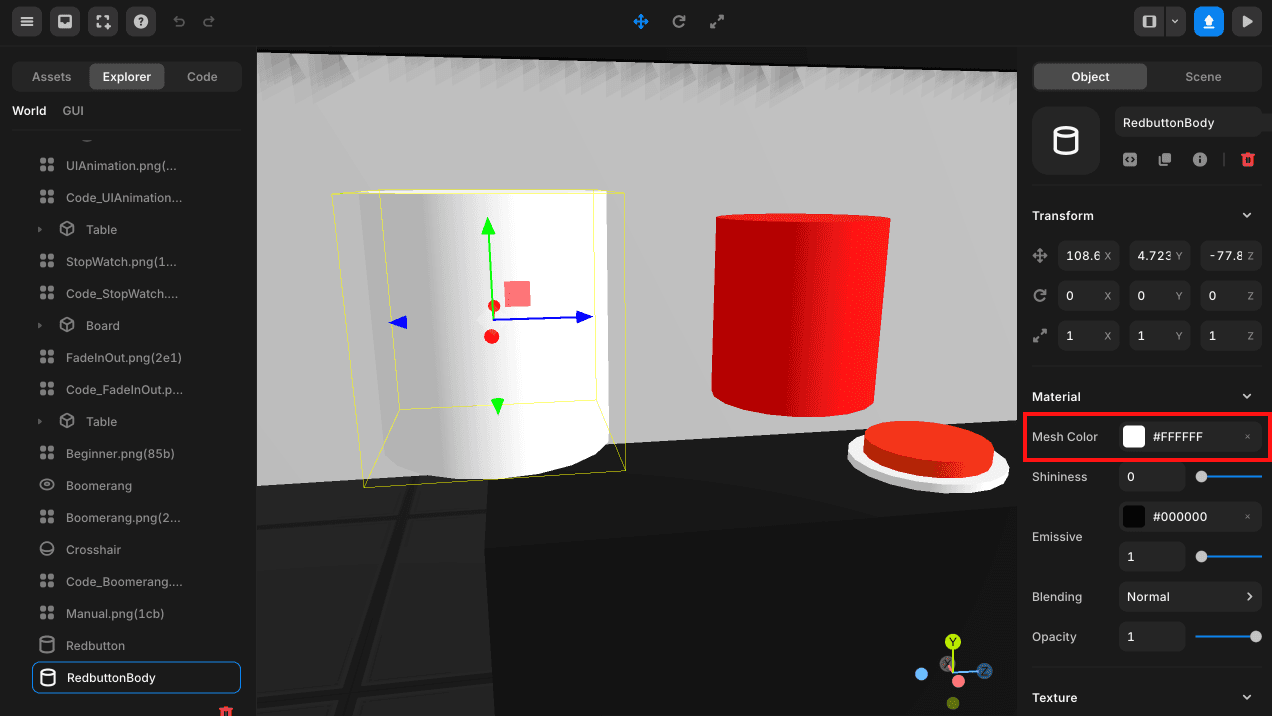 Setting Object Color
c. Adjust the size of the button body.
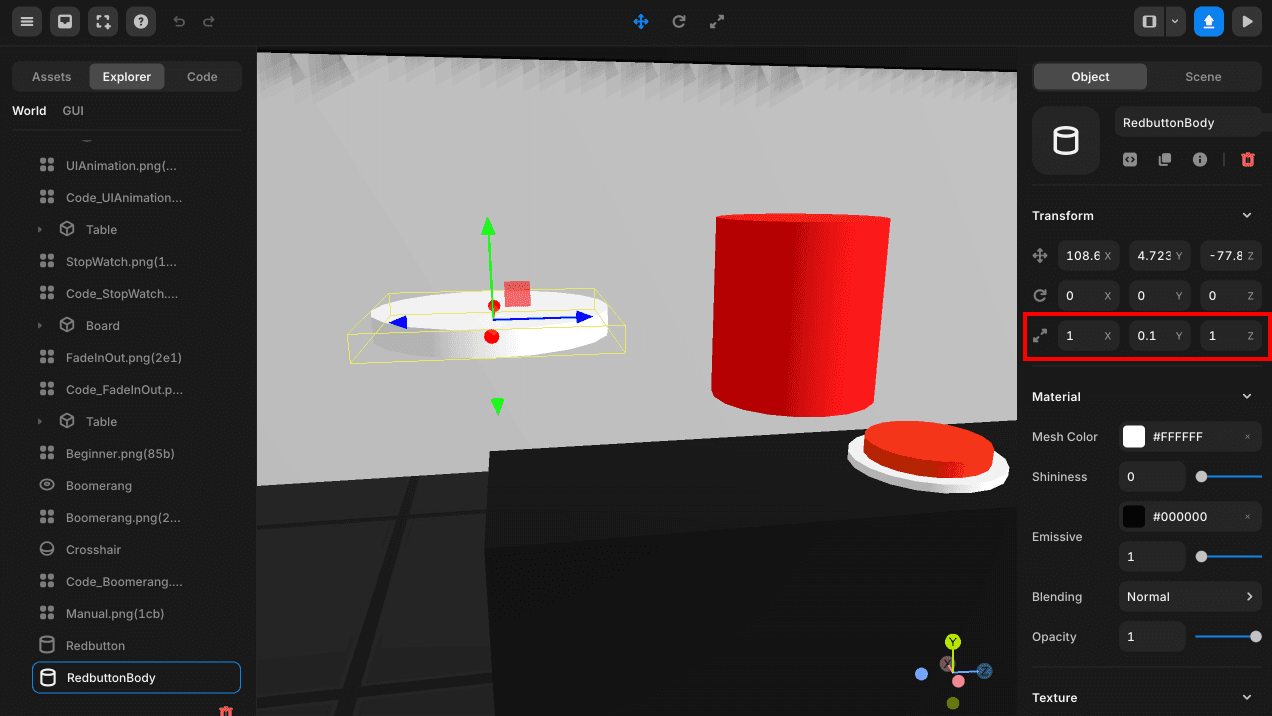 Adjusting Button Body Size
d. Place the button as a child of the button body.
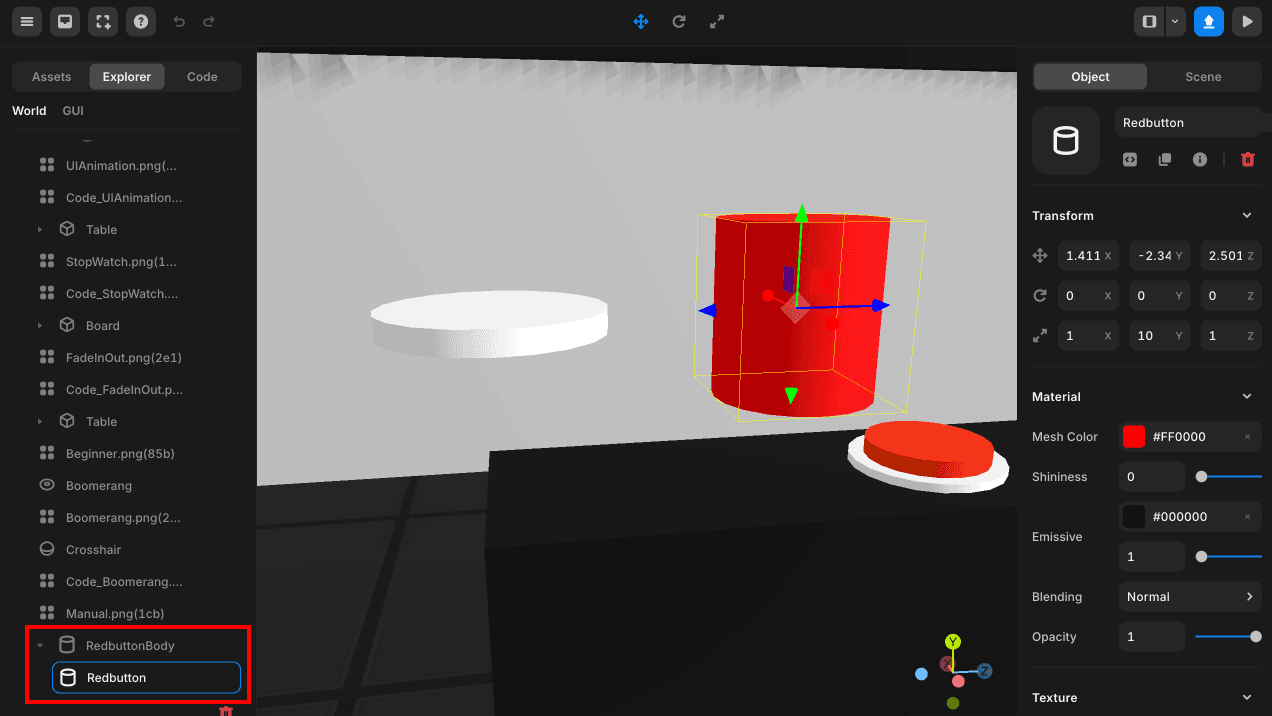 Adding Button as Child of Button Body
e. Adjust the size of the button.
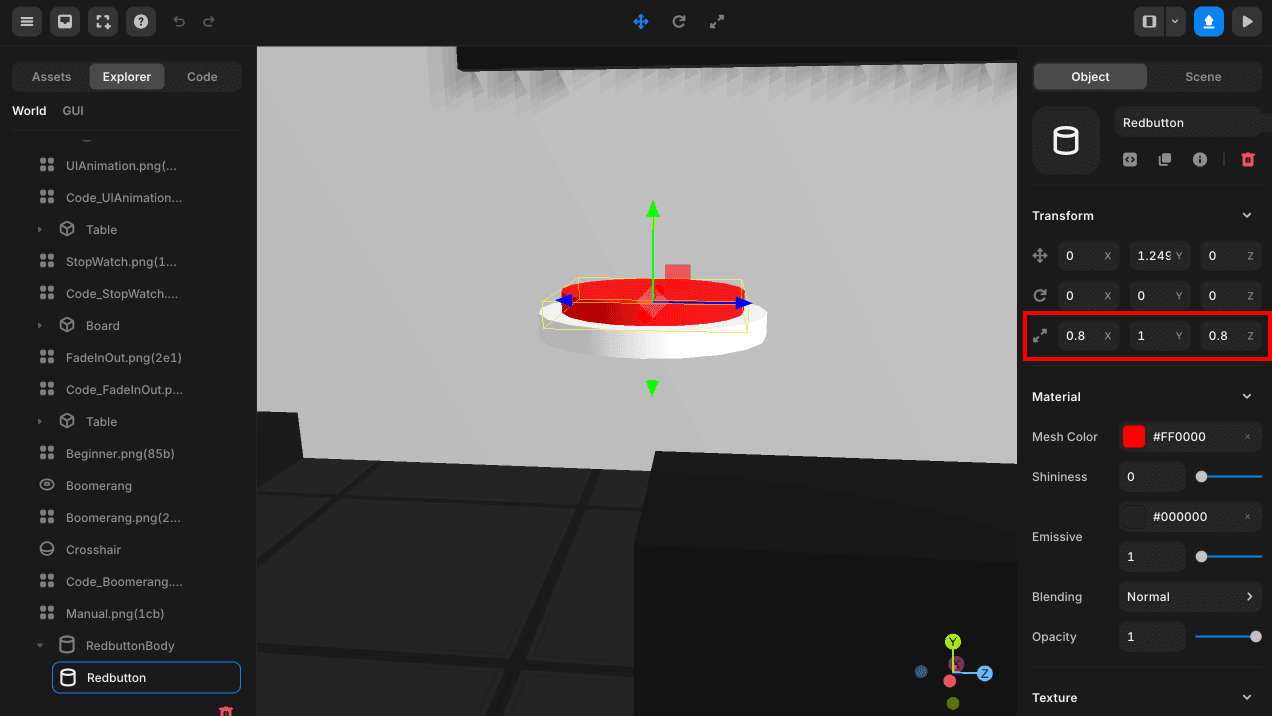 Adjusting Button Size
f. Check the end position of the button and set it as the starting position.
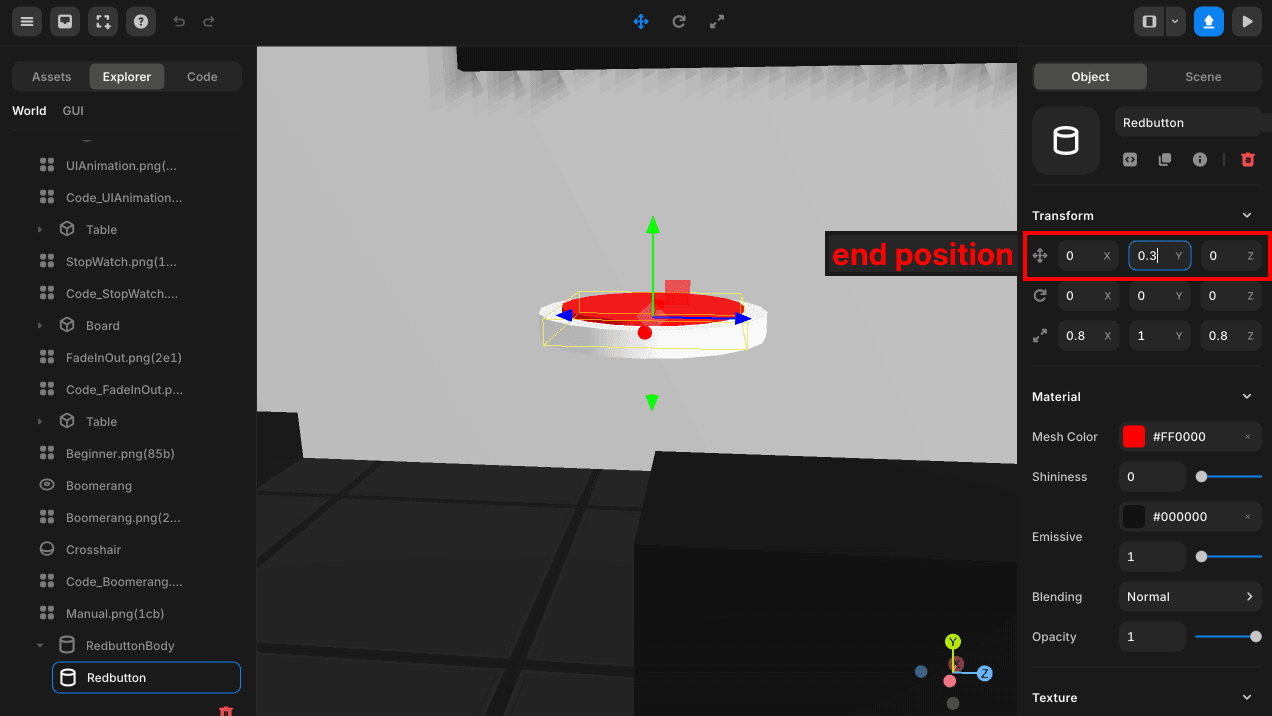 Checking Button End Position
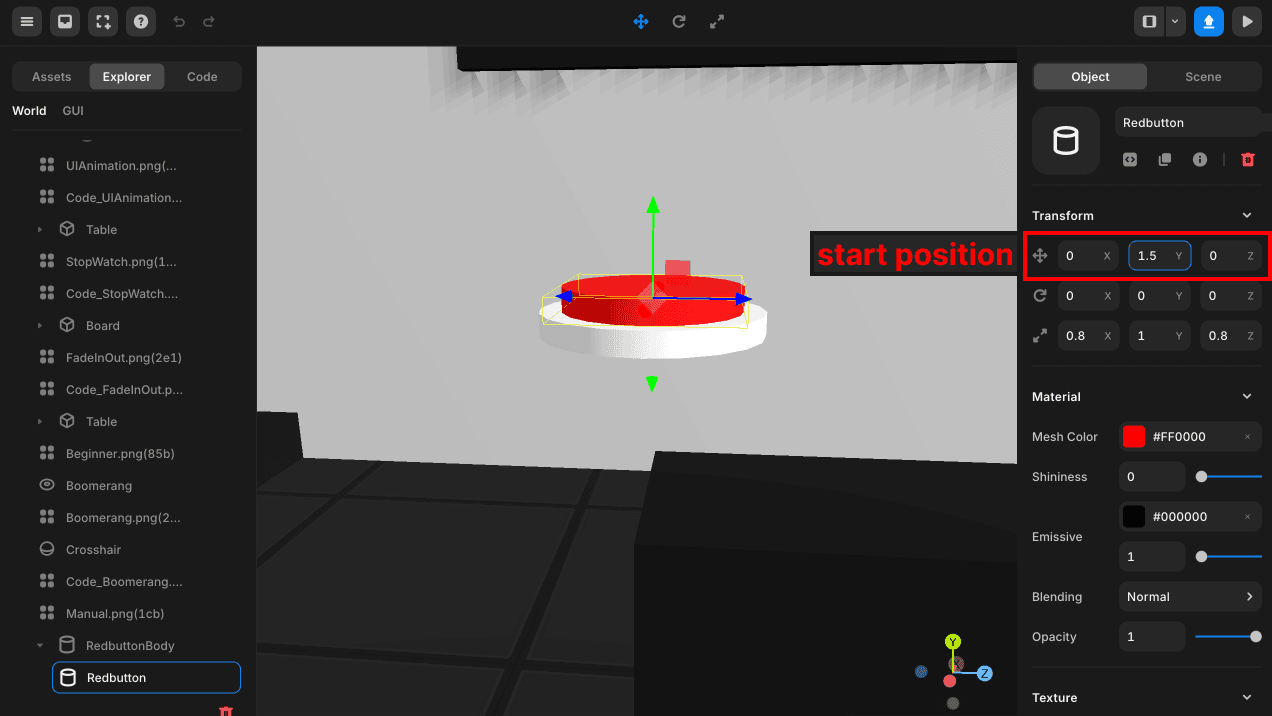 Setting Starting Position for Button
By adding the button as a child object, it will move together with the button body. You can easily create button animations through the button’s relative coordinates.
Writing TWEEN Script for Button Animation
Add the object (client) script to the button object. Use TWEEN to change the position of the button.
Since we are using .yoyo(), the button animation duration will be double the duration in tween.to(object, duration).
const tween = new TWEEN.Tween(this.position);
// Adjust the button animation time, the default is 1000ms
tween.to({ y : 0.1 }, 100) // duration
tween.yoyo(true).repeat(1);
The default transition time for TWEEN is 1000 milliseconds, or 1 second.
Executing TWEEN When the Button is Clicked
Use .onClick() to trigger TWEEN when the button is clicked.
// ...

this.onClick(() => {
    if(tween.isPlaying()) return;
    tween.start();
});
This checks if the current TWEEN is running, allowing the button to be pressed again after the button animation finishes.