Content type
Provides information about content types.
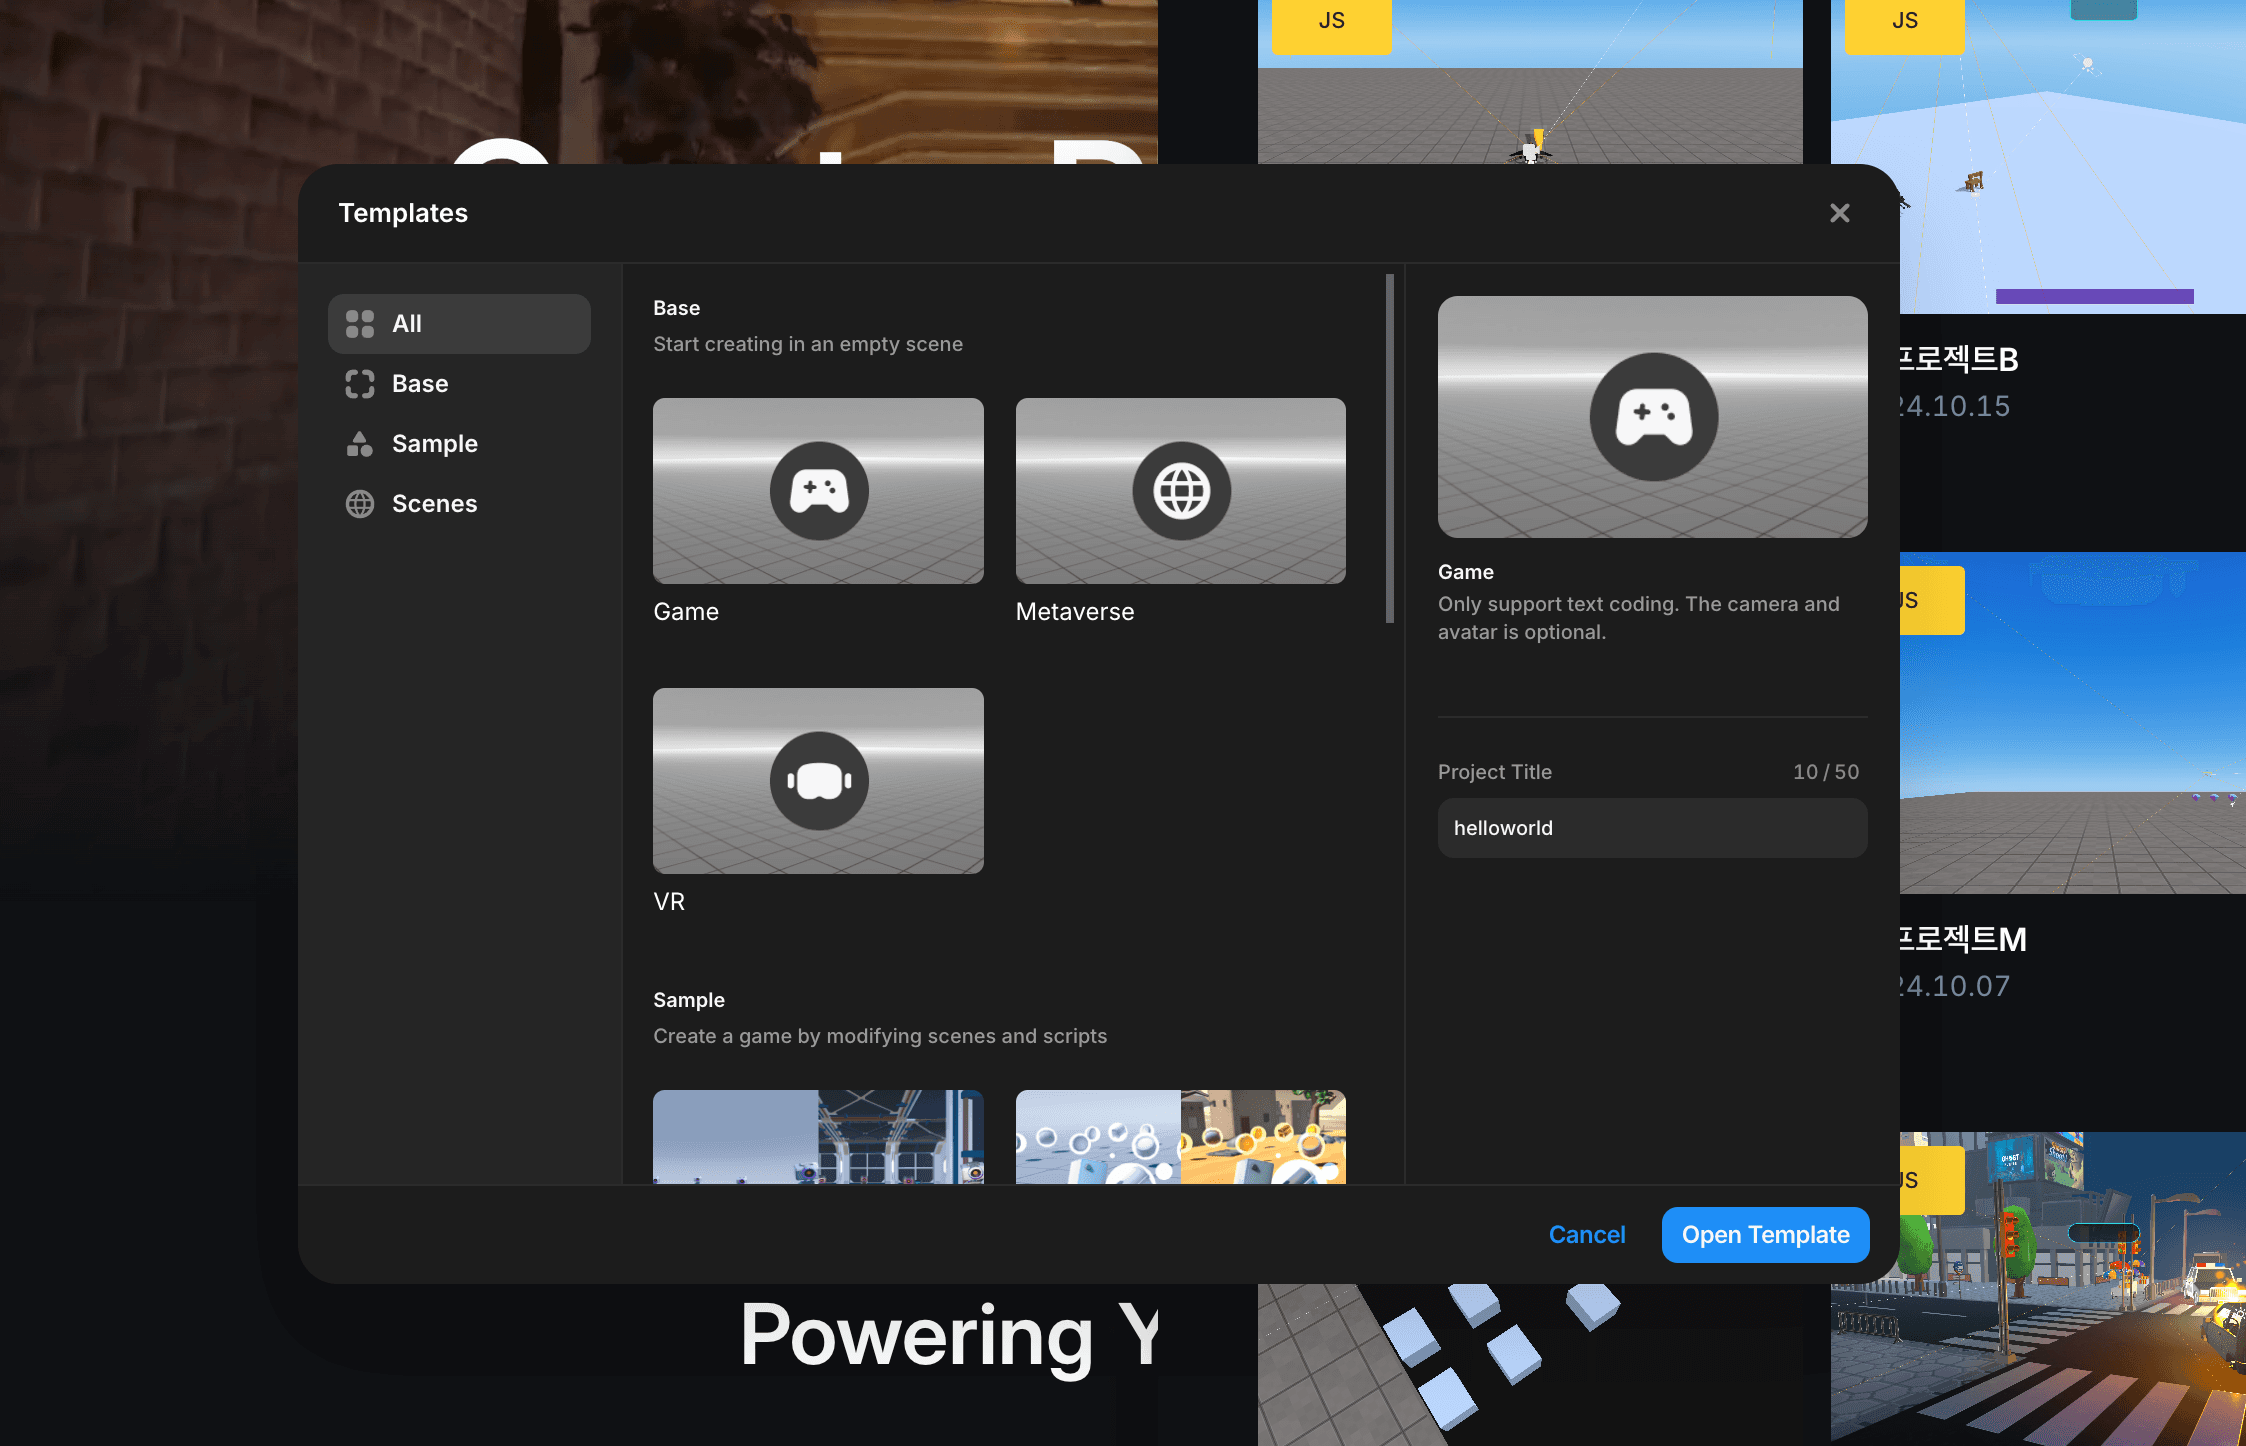
Before starting a project, you can choose the type of content you want to create. There are three different content types available:
-
Metaverse: In this mode, the camera and avatar are set by default. The avatar uses the one set on the Redbrick website, and the camera is configured to always follow the avatar.
-
Game: In this mode, the avatar is optional. Users can decide whether to use an avatar and whether the camera should follow the avatar. This option offers high flexibility.
This mode does not have predefined settings for the camera and avatar. Therefore, users must configure these settings themselves.
- VR: This mode supports virtual reality. If you choose the Metaverse and enable VR, the VR camera will be linked to the avatar. In Game mode, the placement of the VR camera can be set according to the user’s preference.
If you choose a content type and later decide to change it during development, there is no need to worry. You can easily change the preset script at any time based on your preference.
 Options Images
Metaverse
In order to get started with the metaverse, please select the metaverse option before creating a template.
This preset script creates an avatar, a camera, and attaches the camera to the avatar to enable a following effect.
You don’t have to code this. If you selected metaverse, this code will be
there by default.
const avatar = REDBRICK.AvatarManager.createDefaultAvatar();
const camera = WORLD.getObject("MainCamera");
const followingCamera = avatar.setFollowingCamera(camera);
avatar.setDefaultController();
Game
In the game template, there is no code that creates an avatar.
function Start() {
  //nothing
}However: If you want to create an avatar, you can add avatar creation code
as seen in the metaverse template.
VR Option
You can toggle the “VR option” while creating a template in order to use it. This will automatically add additional code to PresetScript, so you don’t have to manually do so.
const avatar = REDBRICK.AvatarManager.createDefaultAvatar();
const camera = WORLD.getObject("MainCamera");
const followingCamera = avatar.setFollowingCamera(camera);
avatar.setDefaultController();
followingCamera.useVR({ VRObject: avatar }); //VR needs to have VRObjectNOTE: VR functionality is compatible exclusively with perspective
cameras.
Additionally, VR can be used with other VRObjects too.
const headOfSomething = WORLD.getObject("headOfSomething");
const camera = WORLD.getObject("cameraTitle");
camera.useVR({ VRObject: headOfSomething }); // now you can use VR without an avatarNOTE: Currently, VR does not render GUIs, so please keep this in mind.
If you choose a game mode and VR settings, the PresetScript might look like this. However, you can customize it as in the previous example (headOfSomething).
const camera = WORLD.getObject("MainCamera");
if (!camera) return;
const obj = new THREE.Object3D();
WORLD.add(obj);
obj.position.copy(camera.position);
camera.useVR({ VRObject: obj });