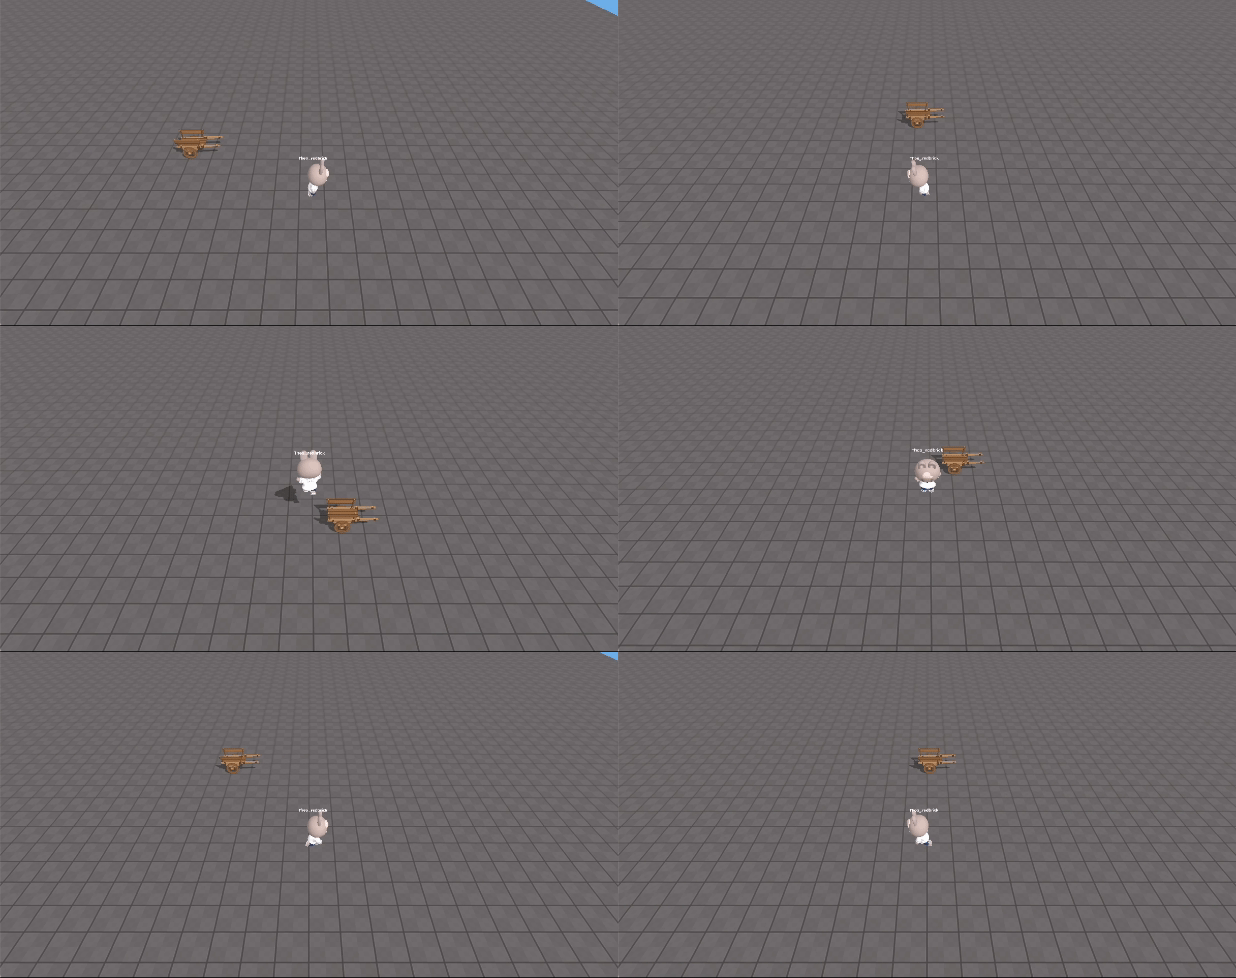
Creating a Quarter-View Camera

Steps
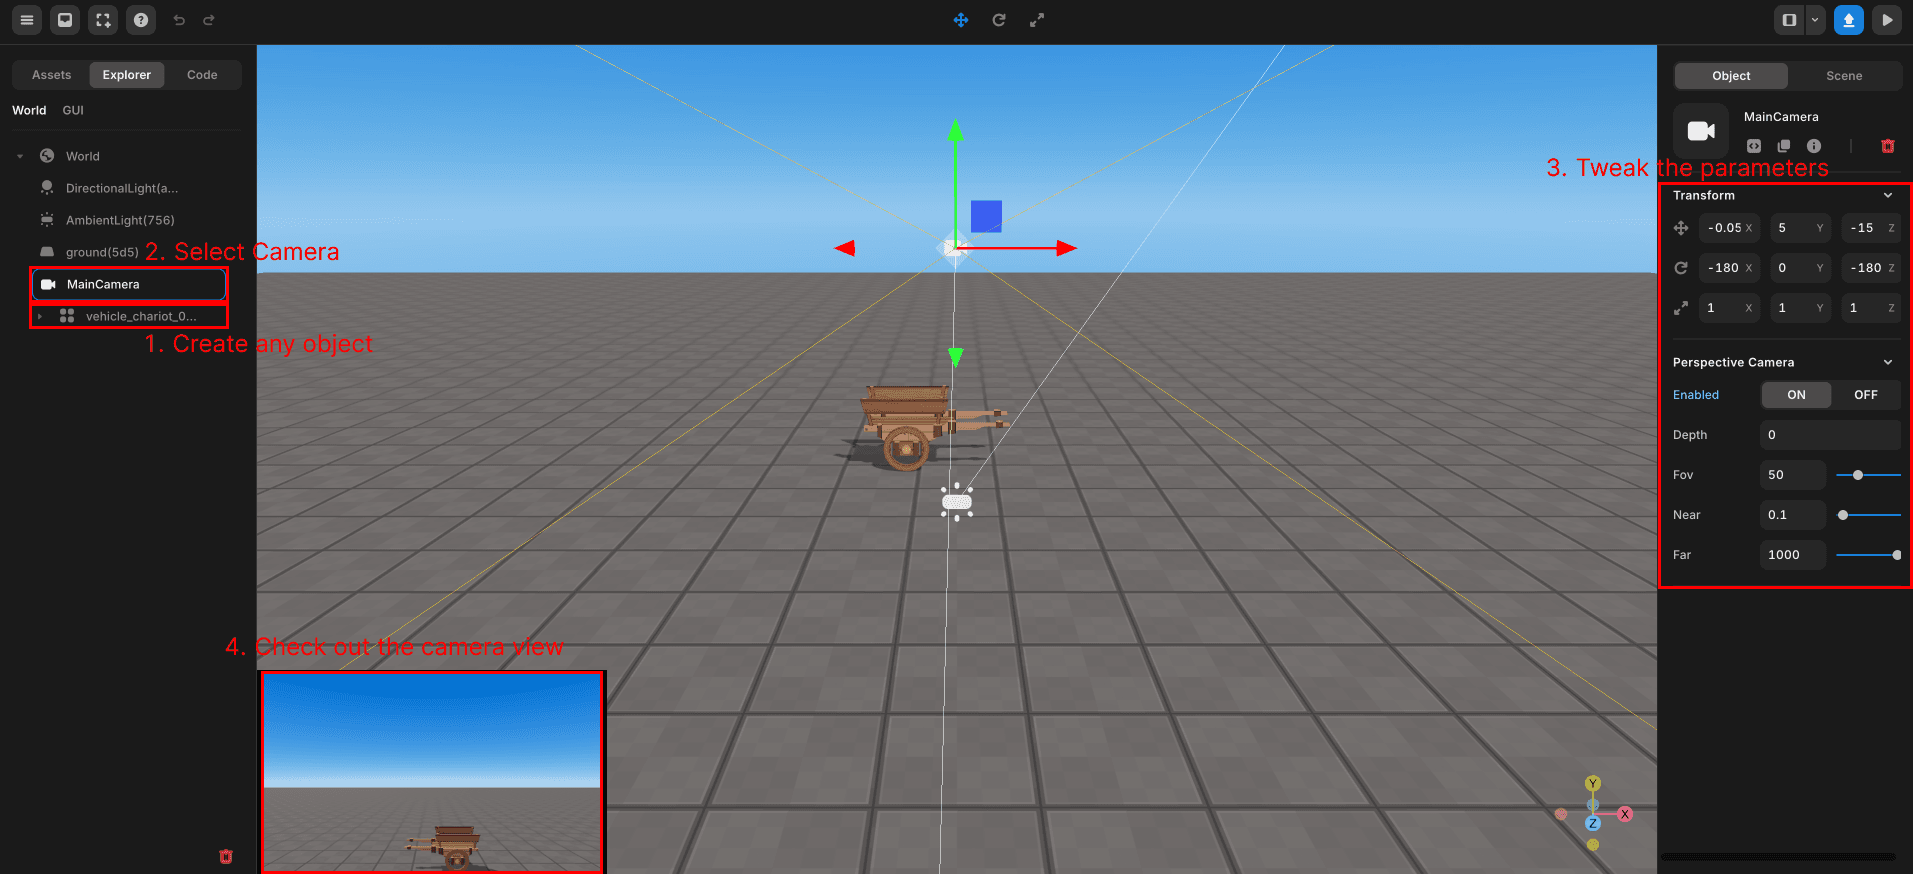
Configure the camera’s position, angle, distance, etc.
- Add any object to the scene.
- Select the camera from the left object panel.
- Configure the detailed parameters of the camera (position, angle, distance, etc.) in the right properties panel.
- Check how it looks in the actual game through the camera view.
- Keep adjusting the values until you find the desired settings.

Adding a Script for Camera Settings
Create a scene script and enter the following code.
// Distance from the player to the camera, rotation value
const CAMERA_POSITION_WEIGHT_Z = 20;
const CAMERA_POSITION_WEIGHT_Y = 20;
const CAMERA_ROTATION_X = -40;

const avatar = REDBRICK.AvatarManager.createDefaultAvatar();
const camera = WORLD.getObject("MainCamera");
avatar.setDefaultController();

// Initialize the camera's Y value and rotation
camera.position.y = CAMERA_POSITION_WEIGHT_Y;
camera.rotation.set(toRadians(CAMERA_ROTATION_X), 0, 0); // The rotation.set() method takes parameters in radians

// Function to convert degrees to radians
function toRadians(degrees) {
  return degrees * Math.PI / 180;
}

// Update the camera's X and Z values to maintain a constant distance from the player each frame
function Update(){
    camera.position.x = avatar.position.x;
    camera.position.z = avatar.position.z + CAMERA_POSITION_WEIGHT_Z;
}
The camera’s Y value and rotation are fixed, while the X and Z values need to be continuously updated.
Thus, set the Y and rotation values only once initially, and continuously update the X and Z values in the update function.