Grouping Objects and Save as Asset
Group objects and save the grouped objects as assets.
GUI Objects cannot be grouped.
While it’s possible to save them as assets, they will become empty objects upon saving, making them unusable.
Therefore, please note that only 3D objects can be grouped and saved at this time.
Grouping Objects
If the object is a collider but needs to be moved, ensure that CanCollide is ON before grouping.
If the objects are grouped without this setting, you’ll need to set both CanCollide and Static to ON in the collision settings.
Doing so will cause issues if the object is moved through code, as the position of the collider will not update.
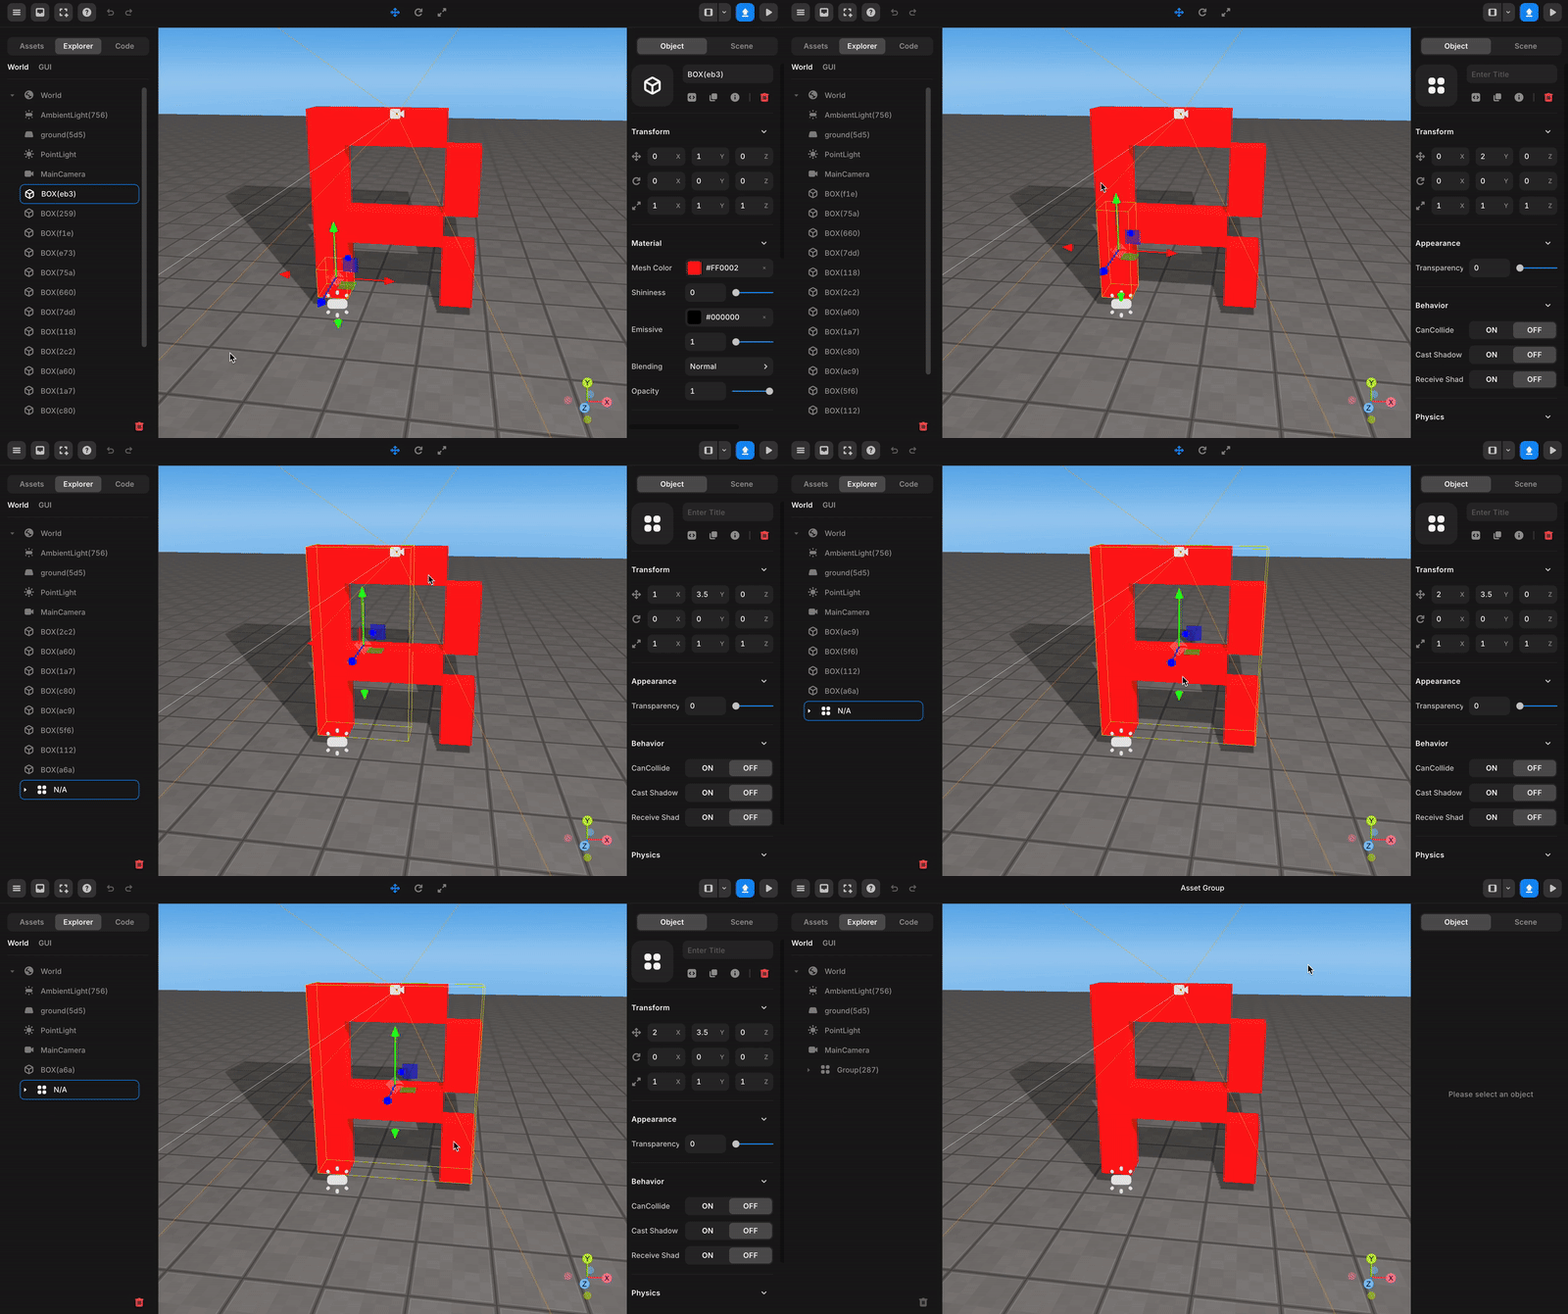
To group objects, select the objects you want to group in the Scene View by holding down the Ctrl key.
Once all the objects are selected, press Ctrl + G to group them together.

Save as Asset
You can save both grouped objects and individual objects in the Scene View as assets.
Renaming Grouped Objects (Optional)
When saving as an asset, you’ll be asked to set the asset’s name. It’s a good idea to rename the object to something more recognizable for your project.

Taking a Screenshot of the Object to Save
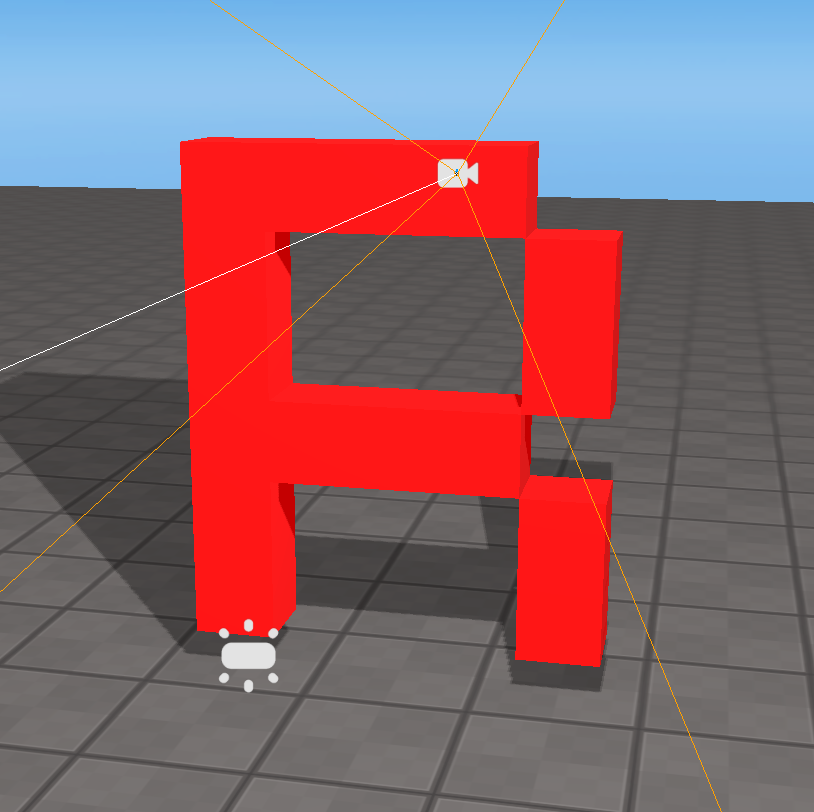
Take a screenshot of the object you want to save.
On Windows, use Win + Shift + S. On macOS, use Cmd + Shift + 4 to capture the screenshot.

Saving the Selected Object as an Asset
Select the object you want to save, either from the Explorer or the Scene View, and click on the Menu in the top left, then choose Save as Asset.

In the Save as Asset popup, enter the asset’s image, name, and keywords, then click Save.

Checking the Saved Asset
You can view the saved asset in the My Asset section in the top left. The most recently added assets will appear at the bottom.

Using the Saved Asset
To use the saved asset, click on it or drag it from My Asset into the Scene View.
For colliders, remember to set CanCollide to ON.
