Import Unity WebGL
The Unity project submission method below is also introduced in the video.
If you watch the video above, you can refer to the contents below in more detail! If you have completed the project publish on the Red Brick site, you can view step 3: submitting a project right away in this article.
🛠️ Step 1: Build a WebGL file in Unity
Open Unity Project
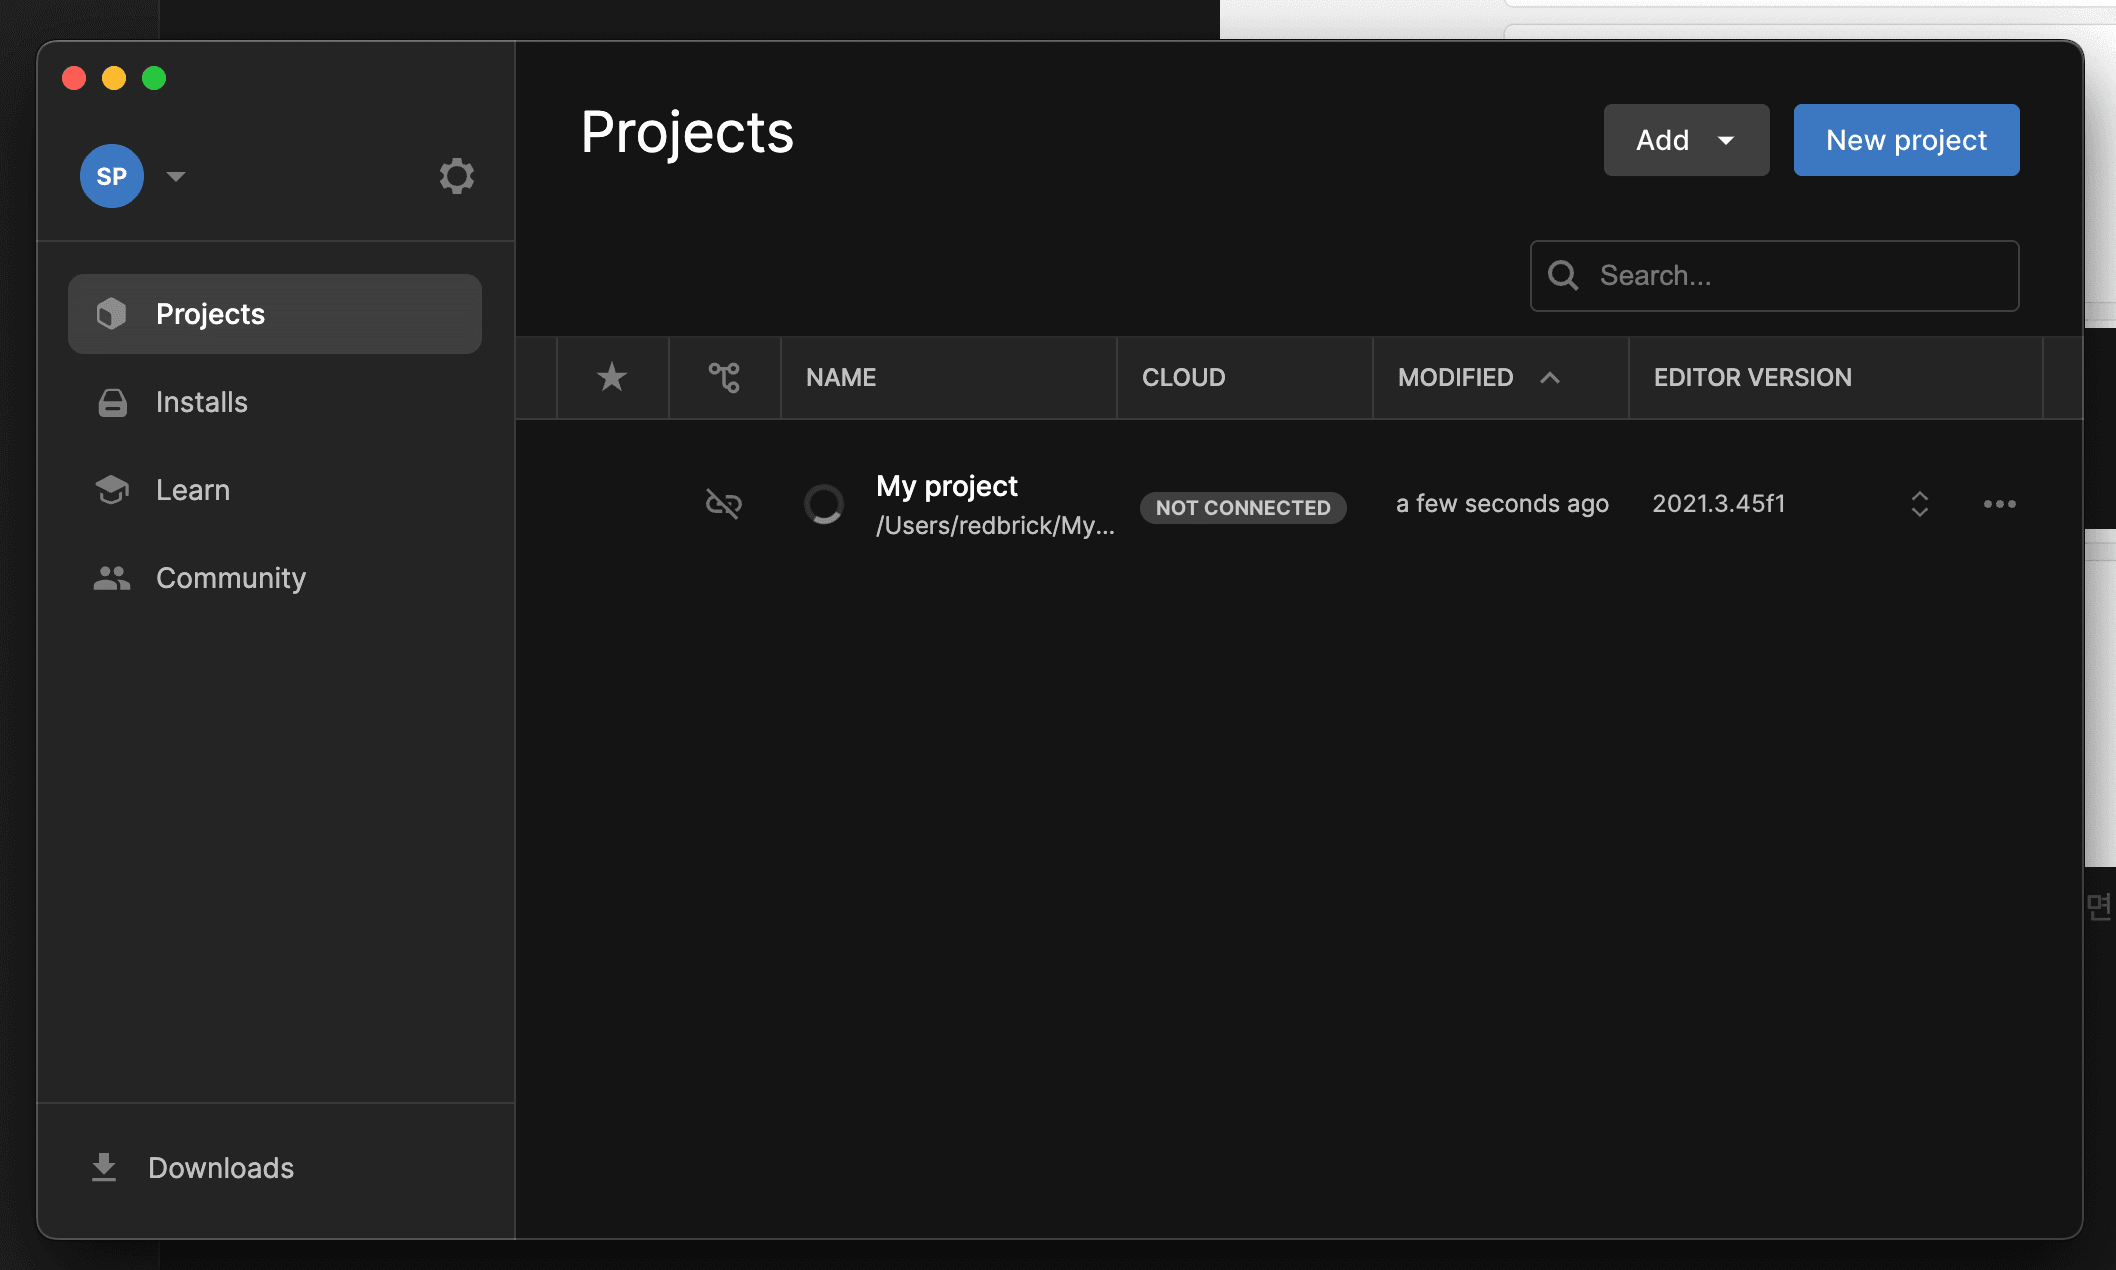
Open Unity and import the project to export to WebGL.

Go to Build Settings
From the top menu bar, click File and select Build Settings.
.89f4e21f.png&w=3840&q=75)
Select WebGL Platform
In the Build Settings window:
- Select WebGL under the Platform section.
- If you don’t see WebGL, click Open Download Page to install it.
- Click Switch Platform to switch to WebGL.
.505dbdac.png&w=3840&q=75)
Adjust Player Settings (Optional)
To customize the build:
- In the Build Settings window, click Player Settings.
.7d63e2aa.png&w=3840&q=75)
- Adjust settings like Resolution and Presentation, and Publishing Settings to suit your needs.
.9d766b7f.png&w=3840&q=75)
🔑 Final Notes
- If Compression Format is disabled, the WebGL file does not appear, so you need to change it to Brotli.
- Ensure that Decompression Fallback is enabled in Player Settings to make sure your WebGL build works smoothly online.
.440f2614.png&w=3840&q=75)
Also, make sure that the development build check is unchecked. (If checked, it will be an error.)
.2d88ff34.png&w=3840&q=75)
🚫 Resolving the issue of the Build button not being activated
If you want to know how to resolve the build button not activating error, please read the article below.
- If you encounter the following error and the Build button is not activated:
.1af7fa96.png&w=3840&q=75)
- Go to Project Settings and click on the right most tab.
Then, click on Other Settings to expand the page.
.ee9db8cf.png&w=3840&q=75)
- In Color Space, change the setting from Linear to Gamma.
.fb3802fb.png&w=3840&q=75)
- When the installation window appears as shown below, click the “change to Gamma” button.
.ce6baca0.png&w=3840&q=75)
- You can see that it has changed normally as shown below, the error has disappeared, and the Build button has been activated.
.e477469f.png&w=3840&q=75)
Build the Project
Click the Build button in the Build Settings window.
Next to Save as, please write the folder name as TeamName_GameName. After that, click the Save button.
.5c56c106.png&w=3840&q=75)
The file will be saved to the address next to “where” below.
.f5844cda.png&w=3840&q=75)
When you press the save button, Unity will start building the project in WebGL format.
.0e6fad91.png&w=3840&q=75)
📂 Your WebGL build is ready!
You can find the files in the selected folder, and now it’s ready for online upload.
🛠️ Step 2: Uploading Unity WebGL File to Redbrick
Open Redbrick Website
Open the following site: https://creator.redbrick.land/
Sign Up and Log In
You need an account to upload your project.
It doesn’t matter which account you use to sign up.
After signing up, please log in.
.e79a684b.png&w=3840&q=75)
Find the Import button
Click the Create button next to your account.
-1.538d0009.png&w=3840&q=75)
Find the Import button on the left panel of the site.
.da021ade.png&w=3840&q=75)
.1df7e437.png&w=3840&q=75)
Select WebGL file
Click the Import button to move to the folder where your WebGL file is saved.
Click on the file folder you saved WebGL and then click the upload button.
.0b3f1a89.png&w=3840&q=75)
Prepare to publish the project
After clicking the upload button above, a window like the one below will appear.
Enter the Name, Description, and Thumbnail image, then click the Publish button.
.251c61d2.png&w=3840&q=75)
Your project has now been uploaded to Redbrick!
Click on the publishing tab and click on your uploaded project. You can now view and share it online.
.e078e279.png&w=3840&q=75)
.9982e40a.png&w=3840&q=75)